Know What You’re Getting Into
If you’re going to be successful as a guitar builder, you need to have the right attitude. Your goals should be realistic. That means you can’t expect to hit a home run the first time you try. If you haven’t already, read my article 5 Things New Guitar Builders Need to Know.
I’ve Seen Your Future
Brace yourself, this might sting. You’re going to make mistakes. You will buy tools and then wish you had bigger/better ones. You’re going to get cocky and then spoil a really nice (expensive!) piece of wood. Don’t let that stop you. Just knowing that it’s going to happen will help make it sting a little less.
A Proven Recipe
Most getting-started guides throw the kitchen sink at you in an attempt to be thorough. Unfortunately, that’s like drinking from a firehose. I’m going to do the exact opposite. To prevent you from getting overwhelmed, I’ll eliminate some options and make some choices for you.
My goal is to help you learn new skills with a successful, easy project. Down the road, you can build on that success. Your enthusiasm and determination will have you fired up to tackle the next build, and you’ll keep learning new skills.
You’ll be tempted to deviate from the recipe. Don’t (seriously). I’ve used this method to help hundreds of people just like you reach their goal of building a guitar. Now let’s get started.
1. Start Simple
I speak from experience here. When I built my first guitar I was a fairly accomplished woodworker, so I was cocky. My ambitious plans included a belly carve, binding, and a book matched drop-top. As if that wasn’t enough, the finish would include a transparent top and solid color on the back and sides. Needless to say, it was a disaster.
Your first build should be a plain old Telecaster or a hardtail (non-tremolo) Stratocaster. Technically the body shape/model doesn’t matter. What we’re after here is a slab body, a bolt-on neck, and a Fender-style bridge that doesn’t require a neck angle. If a Tele or Strat isn’t your cup of tea, contact me and we can brainstorm some suggestions that will work just as well.
2. Use A Pre-made Bolt-on Neck
For your first build, I suggest you start out only building a body. Don’t get me wrong, somewhere down the road I definitely want you to tackle building a neck. Focus on the body for now. This is a “learn to walk before you run” thing. You can always swap this pre-made neck for one you make in the future.
If you need a pre-made neck, I can help with that.
3. Buy A Body Blank
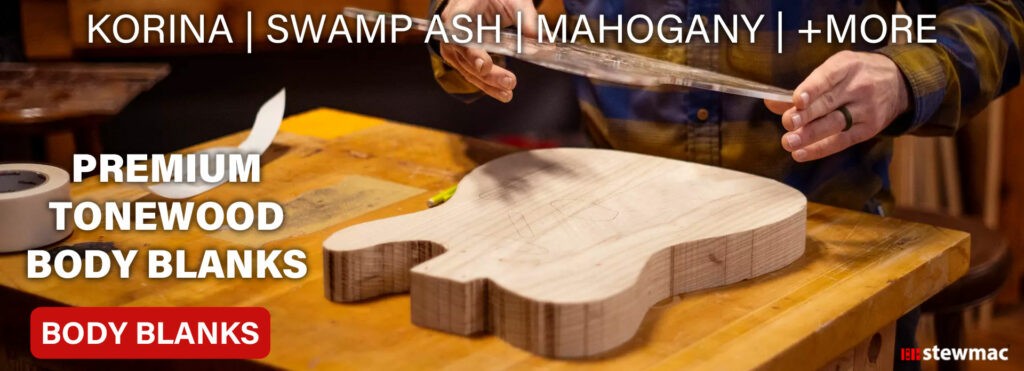
For your first build, buy a pre-made body blank. There’s no question that if you have the tools, workspace, and know-how, you can save money by processing rough lumber and gluing up your own body blanks. However, for right now, you’re choosing to save money by buying a blank instead of spending on all the tools required to process rough lumber into blanks. Also, do not buy a super expensive body blank. Plain swamp ash or mahogany will do just fine.
4. Have All Your Parts In-hand
I know you’re excited, I get it. Just trust me on this one and wait until all your parts have arrived before you make any sawdust. I can’t tell you the number of people that have told me stories about routing for pickups that hadn’t arrived yet only to find out the pickups didn’t fit. Or worse yet, they routed for pickups and painted the body before the pickups arrived.
Fox Mulder had it right; trust no one. Until you test-fit everything and see the results with your own eyes, you should assume all the info you have is wrong!
5. Practice on Scrap
I should probably put that phrase on t-shirts. If you don’t know how to use a router, do not practice on your new body blank. If you’re not sure the neck you bought fits the neck pocket on your templates, route a pocket in a piece of scrap wood first and test the fit.
Most lumberyards have a “shorts” bin with 24″-ish off-cuts that you can pick up cheaply. If all else fails, a piece of construction lumber (2″x6″) from the local big box store is a pretty cost-effective testbed to learn with.
6. Build Two Guitars
When I started building guitars I developed the habit of building two identical guitars at once. One was made with inexpensive wood and I considered it to be the “practice” guitar. I performed every operation first on the practice guitar to learn what could go wrong and get my mistakes out of the way.
In my mind, the test guitar would never actually be finished and assembled. It was purely a learning tool. It’s 20 years later, and I still use this method for new designs. My wood of choice for this type of learning and prototyping is usually poplar, but I’ve also made prototype necks out of pine!
Pep Talk (aka You Got This!)
Your first guitar probably won’t be perfect. You may make a mistake that completely crushes you, but don’t let that stop you. Finishing is the important part.
Even if you tear a chunk out of the body and decide you’ll never use it… finish building it anyway. You still have more to learn, and now you have the perfect test piece because you don’t care what happens to it! You don’t actually have to paint and assemble a working guitar from it, but definitely complete the woodworking portion as a skill-building exercise.
As you make more guitars, you’ll make fewer mistakes. Soon enough you’ll start making guitars that you’re proud to have anyone play. Trust me, I’ve seen your future 🙂
Success Checklist
Here’s a quick recap of my recipe for a first guitar build:
Follow these simple steps and you’ll be on your way to a successful first build. If you have any questions along the way, get in touch with me.

Mike Potvin
Chief Sawdust Officer
Keep reading: Guitar Tonewood FAQ
Don’t Take Chances
Learn the secrets to choosing great templates
Yes! Alert me when new Guitar Templates & Jigs are released


votre aproche est tres intéressante je suis un ébéniste retraité j,ai commencé il y a 25 ans à m’intéressé aux instruments à corde, j’ai fabriqué deux violons , deux alto et quatre guitares les guitares m,intéresse beacoup et ce que vous proposez m,intéresse beaucoup.on se causera surement.merci
Merci Alain! I appreciate your comment. As a retired cabinet maker, I’m sure you make beautiful guitars 🙂
I am interested in building my own original and unique guitars and I know that i will learn from one of the best teachers to get started so thank you for this valuable information that you are providing here for everybody to learn this lost art.
Thanks Charles, I’m happy to help.
oh man i failed on 5 out of the six above but still having some fun! I wish you could see my first free hand route for a truss rod! I didnt know it had to be snug!
Hey Scott, don’t think of it as “failing”. ALL building is good building, especially if you’re having fun while learning & improving. Mrs. Potvin Guitars always says “that’s one more mistake crossed off your assigned quota of lifetime mistakes”.
Just getting started an now I want to build one
That’s awesome Rickey. Let me know if I can help in any way.
Great advice! Start simple! I didn’t 😉 I built my first guitar in 1989. I used Melvyn Hiscock’s book to get started. I didn’t follow any of his designs but I combined a number of them. I built a double cutaway, Tele style guitar, neck thru, no neck angle, 650mm scale, maple neck, ash body, and made everything from scratch with minimal tools. I still have the guitar and it still plays good but after I got Albert Lee to sign it I just hung it on the wall. I made 5 more neck through guitars but I got too busy to continue. After I retired in 2012 (IT geek) I got back into it. Building a body is pretty easy and doesn’t require too many tools but necks are a whole different story. If you don’t have the tools just buy a Warmoth, Mighty Mite, or even GFS neck and go to town.